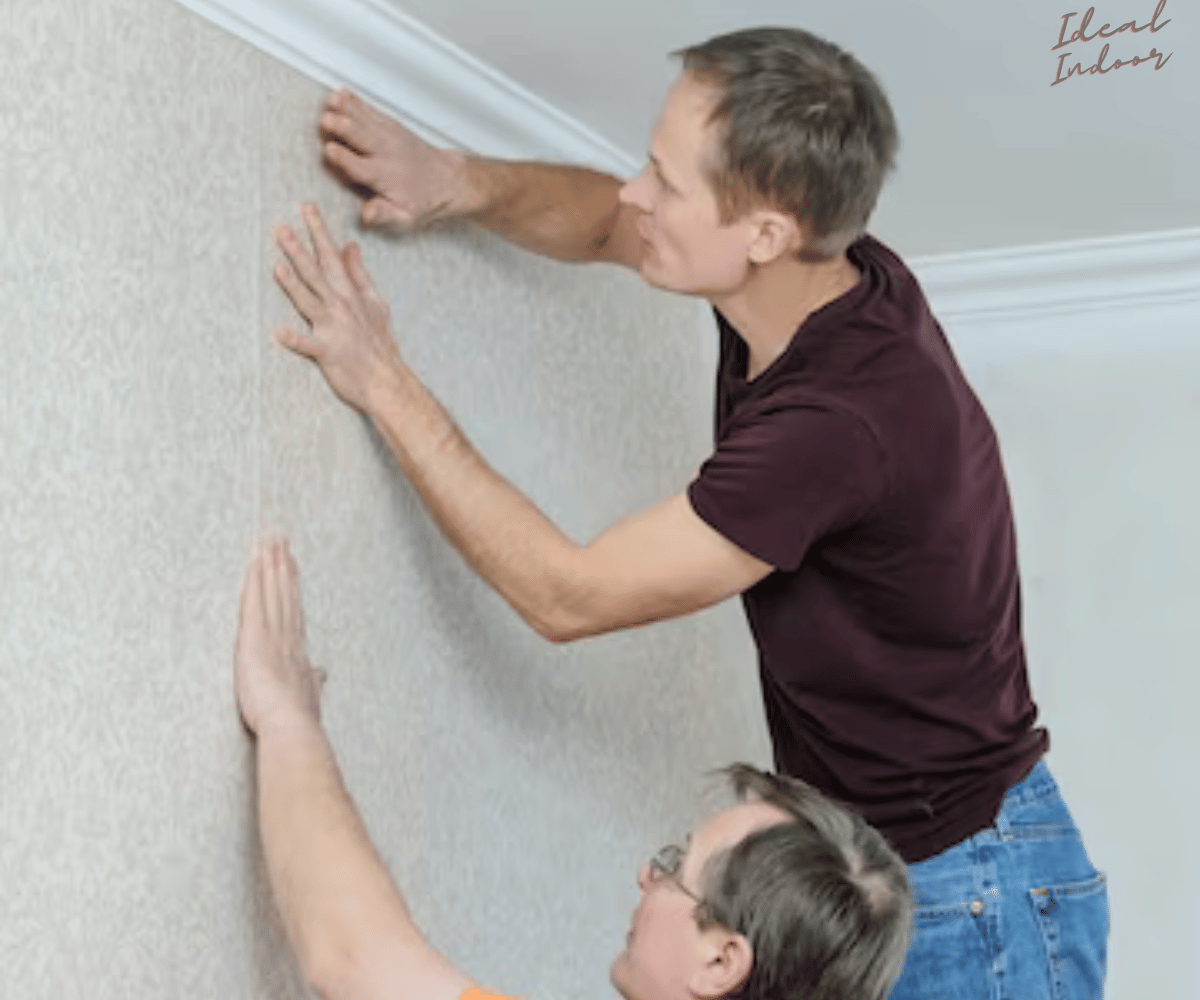
To prepare walls for wallpaper installation, of your beautiful home first clean them thoroughly and repair any imperfections. Ensure the surface is smooth, dry, and primed before you begin.
Wallpaper can utterly transform a room, but its successful application hinges on the wall preparation before the rolls make their way onto the surface. A smooth, well-prepared wall can make the difference between a wallpaper job that looks professional and one that shows every flaw and fault line.
Proper preparation involves removing old wallpaper, filling holes, sanding rough spots, and applying primer to create an ideal surface for your new wallpaper. This process can be time-consuming, but it’s essential for ensuring that the wallpaper adheres correctly and looks its best. By diligently prepping your walls, you can avoid the pitfalls of bubbling, peeling, or an uneven finish, setting the stage for a stunning visual impact that will last for years.
Preparation Essentials For Wallpaper Installation
Proper wall preparation is key for smooth wallpaper installation. Clean walls are a must. Remove old wallpaper and fix any holes or cracks. Sanding away imperfections creates a flat surface. Ensuring walls are completely dry after cleaning is crucial. Dust-free, smooth walls help wallpaper adhere better. Skipping this step can lead to peeling and uneven textures.
| Tools | Materials |
|---|---|
| Putty knife | Spackling paste |
| Sanding block | Wallpaper primer |
| Level | Cleaning solution |
| Ladder | Painter’s tape |
Remember to use a level for straight lines. Cover edges and sockets with painter’s tape for protection. Gather all tools and materials before starting. This checklist helps you avoid delays and ensures a professional finish.
Evaluating Wall Conditions
Before wallpaper installation, a thorough assessment of your wall conditions is essential. Imperfections, such as cracks or peeling paint, need addressing to ensure a smooth application and stunning finish.
It’s crucial to spot potential issues like cracks, peeling paint, or moisture damage. These problems can cause wallpaper to not stick properly. Look for color inconsistencies which could indicate dampness. Small holes or dings must be filled and sanded smooth. Any glossy surfaces should be dulled with sandpaper. This step ensures the wallpaper adhesive bonds securely.
- Check for and address cracks and holes.
- Dull glossy finishes for better adherence.
- Look for moisture signs and treat them.
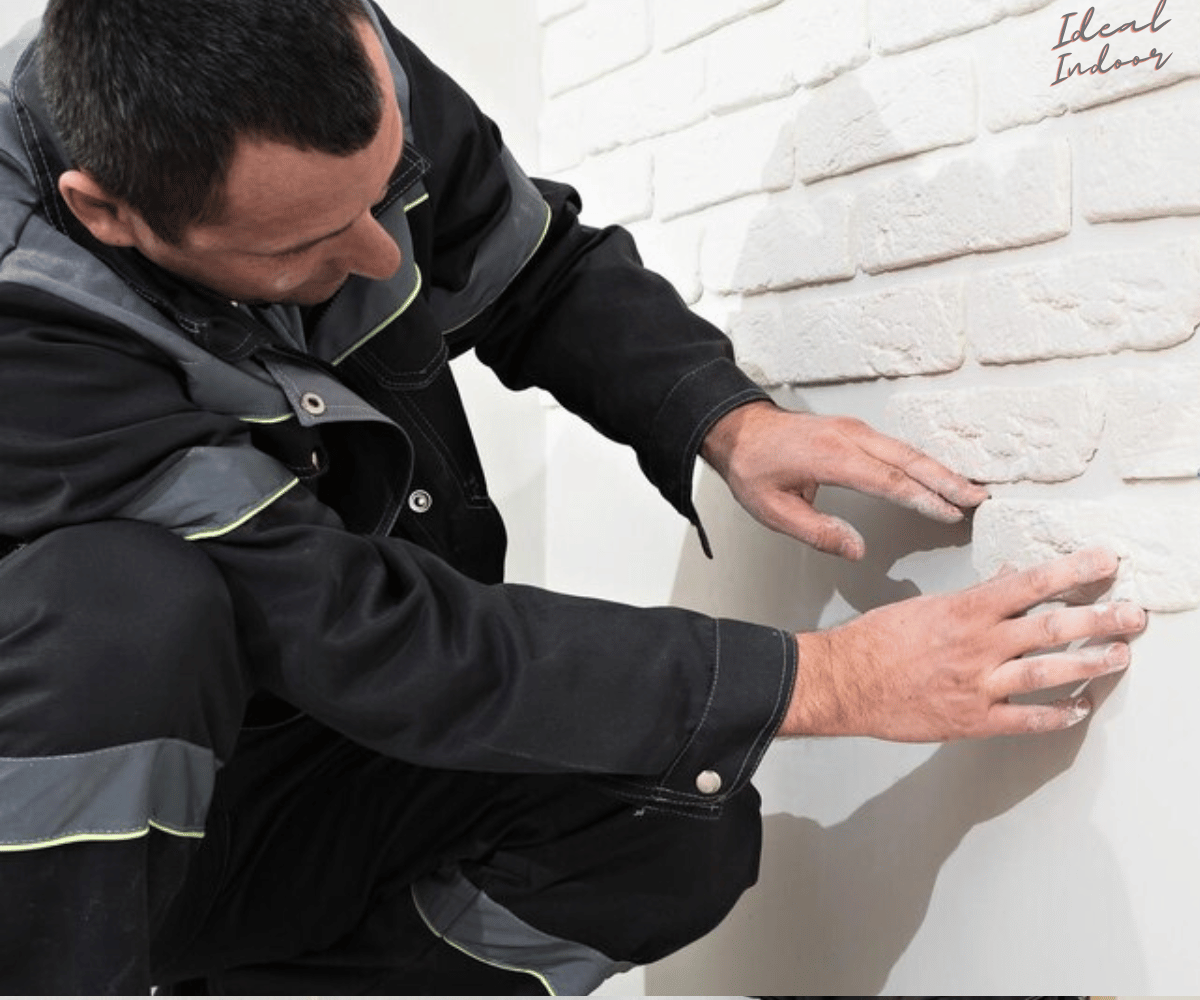
Old Coverings And Wall Treatment
Preparing walls for new wallpaper begins with removing existing wallpaper. Steamers or solvent solutions can aid in peeling off old layers. It’s essential to carefully scrape away residue for a smooth surface. After stripping the wallpaper, repairing holes and cracks is next. Apply spackle with a putty knife to even out the wall. Fine-grit sandpaper will make the surface ready for new wallpaper. Achieving a clean and stable wall foundation ensures excellent wallpaper adherence and durability.

Credit: m.youtube.com
Cleaning And Degreasing
Properly prepping your walls is essential for a smooth wallpaper installation. Begin by removing all dust, dirt, and any other debris using a soft sponge or brush. Walls should be spotless and dry before you proceed to the next step.
It’s vital to choose a cleaning solution that is gentle yet effective. A mixture of warm water and mild dish soap often does the trick. Avoid harsh chemicals, as these can damage the walls or interfere with wallpaper adhesion. For stubborn stains or grease, rubbing alcohol or a specialized grease remover can be used carefully on the problem areas.
Once cleaning is done, give the walls time to air dry completely. This ensures the best possible surface for your new wallpaper.
Smoothing The Surface
Proper wall preparation is key before hanging new wallpaper. Sanding walls creates a smooth surface, crucial for wallpaper adhesion. This process removes imperfections and ensures a flawless finish. For textured walls, a specific approach is necessary.
Use a fine-grit sandpaper to gently sand the wall. Always sand in a circular motion, covering every inch carefully. Ensure the entire wall feels smooth to touch. Dust removal is important after sanding. Wipe walls with a damp cloth to ensure a clean surface for the wallpaper.
Textured surfaces may need special treatment:
- Level deep textures with a skim coat of plaster.
- Allow the plaster to dry completely before sanding.
- Seal the wall with a primer to hide any small imperfections.

Credit: wallpaperlady.wordpress.com
Priming The Walls
Priming walls is a key step before applying wallpaper. This prep work ensures the best results. Primer creates a smooth surface, improving wallpaper adherence. It also prevents moisture damage and makes future removal easier.
To choose the best primer, consider the wall’s condition. For new drywall, use a drywall-specific primer. If you have plaster walls, choose an oil-based primer. Stain-blocking primers are perfect for walls with marks. Always check the wallpaper manufacturer’s recommendations.
| Wall Type | Primer Type | Benefits |
|---|---|---|
| New Drywall | Drywall Primer | Seals surface, Smooth finish |
| Plaster Walls | Oil-Based Primer | Better adhesion, Durability |
| Marked Walls | Stain-Blocking Primer | Covers stains, Prepares for wallpaper |
Measuring And Marking The Walls
Measuring your walls for wallpaper installation is the first step to ensure you buy enough wallpaper. You will need to measure both the height and width of each wall. Keep doors and windows in mind, as they can affect the amount needed.
To calculate wallpaper requirements, multiply the total width of the walls by their height. This gives the total square footage. Each roll of wallpaper covers a certain amount, so divide your total by this number. Remember to buy extra for mistakes and pattern matching.
Accurate marking is crucial for a perfect fit. Use a level to draw straight lines. Also, a measuring tape and a pencil are your best friends here. Mark lightly to avoid visible lines later. Lastly, always double-check measurements before making cuts.
Final Checks Before Wallpapering
Preparing your walls for wallpaper means starting with a clean workspace. Make sure all the furniture is out of the way. Your walls need to be free of dust and debris. Use a mild detergent and water to wipe down the walls. Allow them to dry completely before starting.
Conduct a careful examination of the wall surface. Look for small cracks or holes. You should fill these with spackle or wall filler. Once the filler dries, sand the surface smoothly to ensure no bumps. Do not forget to dust off any residue from sanding. Your wallpaper will then stick better and look perfect.
Tips And Tricks For A Successful Installation
Preparing walls for wallpaper is vital. A smooth, clean surface is key. Ensure walls are dry and even. Fill any holes or cracks before starting.
Use a mild detergent to wipe away dirt. Rinse walls with water and let them dry fully. Remove old paint flakes for a smooth surface. Sticky residues from tapes or posters must go.
Measure walls accurately to cut wallpaper precisely. Align patterns for a consistent look. Avoid matching patterns at corners due to wall irregularities. Book the wallpaper according to manufacturer’s instructions. This avoids seams from separating after hanging.
Check lighting conditions in the room. Different lights can change how colors appear. Lastly, invest in the right tools, like a sharp blade, for clean cuts.

Credit: athomewithashley.com
Frequently Asked Questions Of Prepare Walls For Wallpaper Installation
Do Walls Need Special Preparation For Wallpaper?
Yes, walls require proper preparation before wallpaper installation. This includes cleaning the surfaces, smoothing out any imperfections, removing old wall coverings, and applying a primer if necessary. Properly prepared walls ensure better adhesion and a smoother finish.
How To Smooth Walls Prior To Wallpapering?
To smooth walls, fill any holes or cracks with spackling compound, sand the area until it’s even, and wipe down the dust. For textured walls, skim coating might be necessary. A smooth wall surface is crucial for a seamless wallpaper application.
Can I Wallpaper Over Painted Walls?
Wallpapering over painted walls is possible but requires preparation. First, wash the walls to remove grease and dirt. Then, lightly sand glossy surfaces for better adhesion. Finally, apply a primer designed for wallpapering over paint to ensure the wallpaper sticks properly.
What Primer Should I Use Before Wallpapering?
Use a wallpaper-specific primer, such as acrylic or oil-based primers, which are designed to seal the wall and provide the ideal surface for wallpaper adhesion. This helps the wallpaper to stick smoothly and reduces the chances of peeling.
Preparing your walls for wallpaper installation is a pivotal step. By ensuring a clean, smooth surface, you pave the way for a flawless finish. Remember, taking your time now can prevent issues later. Ready your space with patience, and your walls will transform, reflecting the beauty of your chosen wallpaper.
Embrace the process, and soon, you’ll revel in the stunning results.